How to Record Product Demos with Smart Zoom
Learn how to create engaging product demos using smart zoom. Discover essential tips for screen recording with automatic zoom to enhance viewer experience.
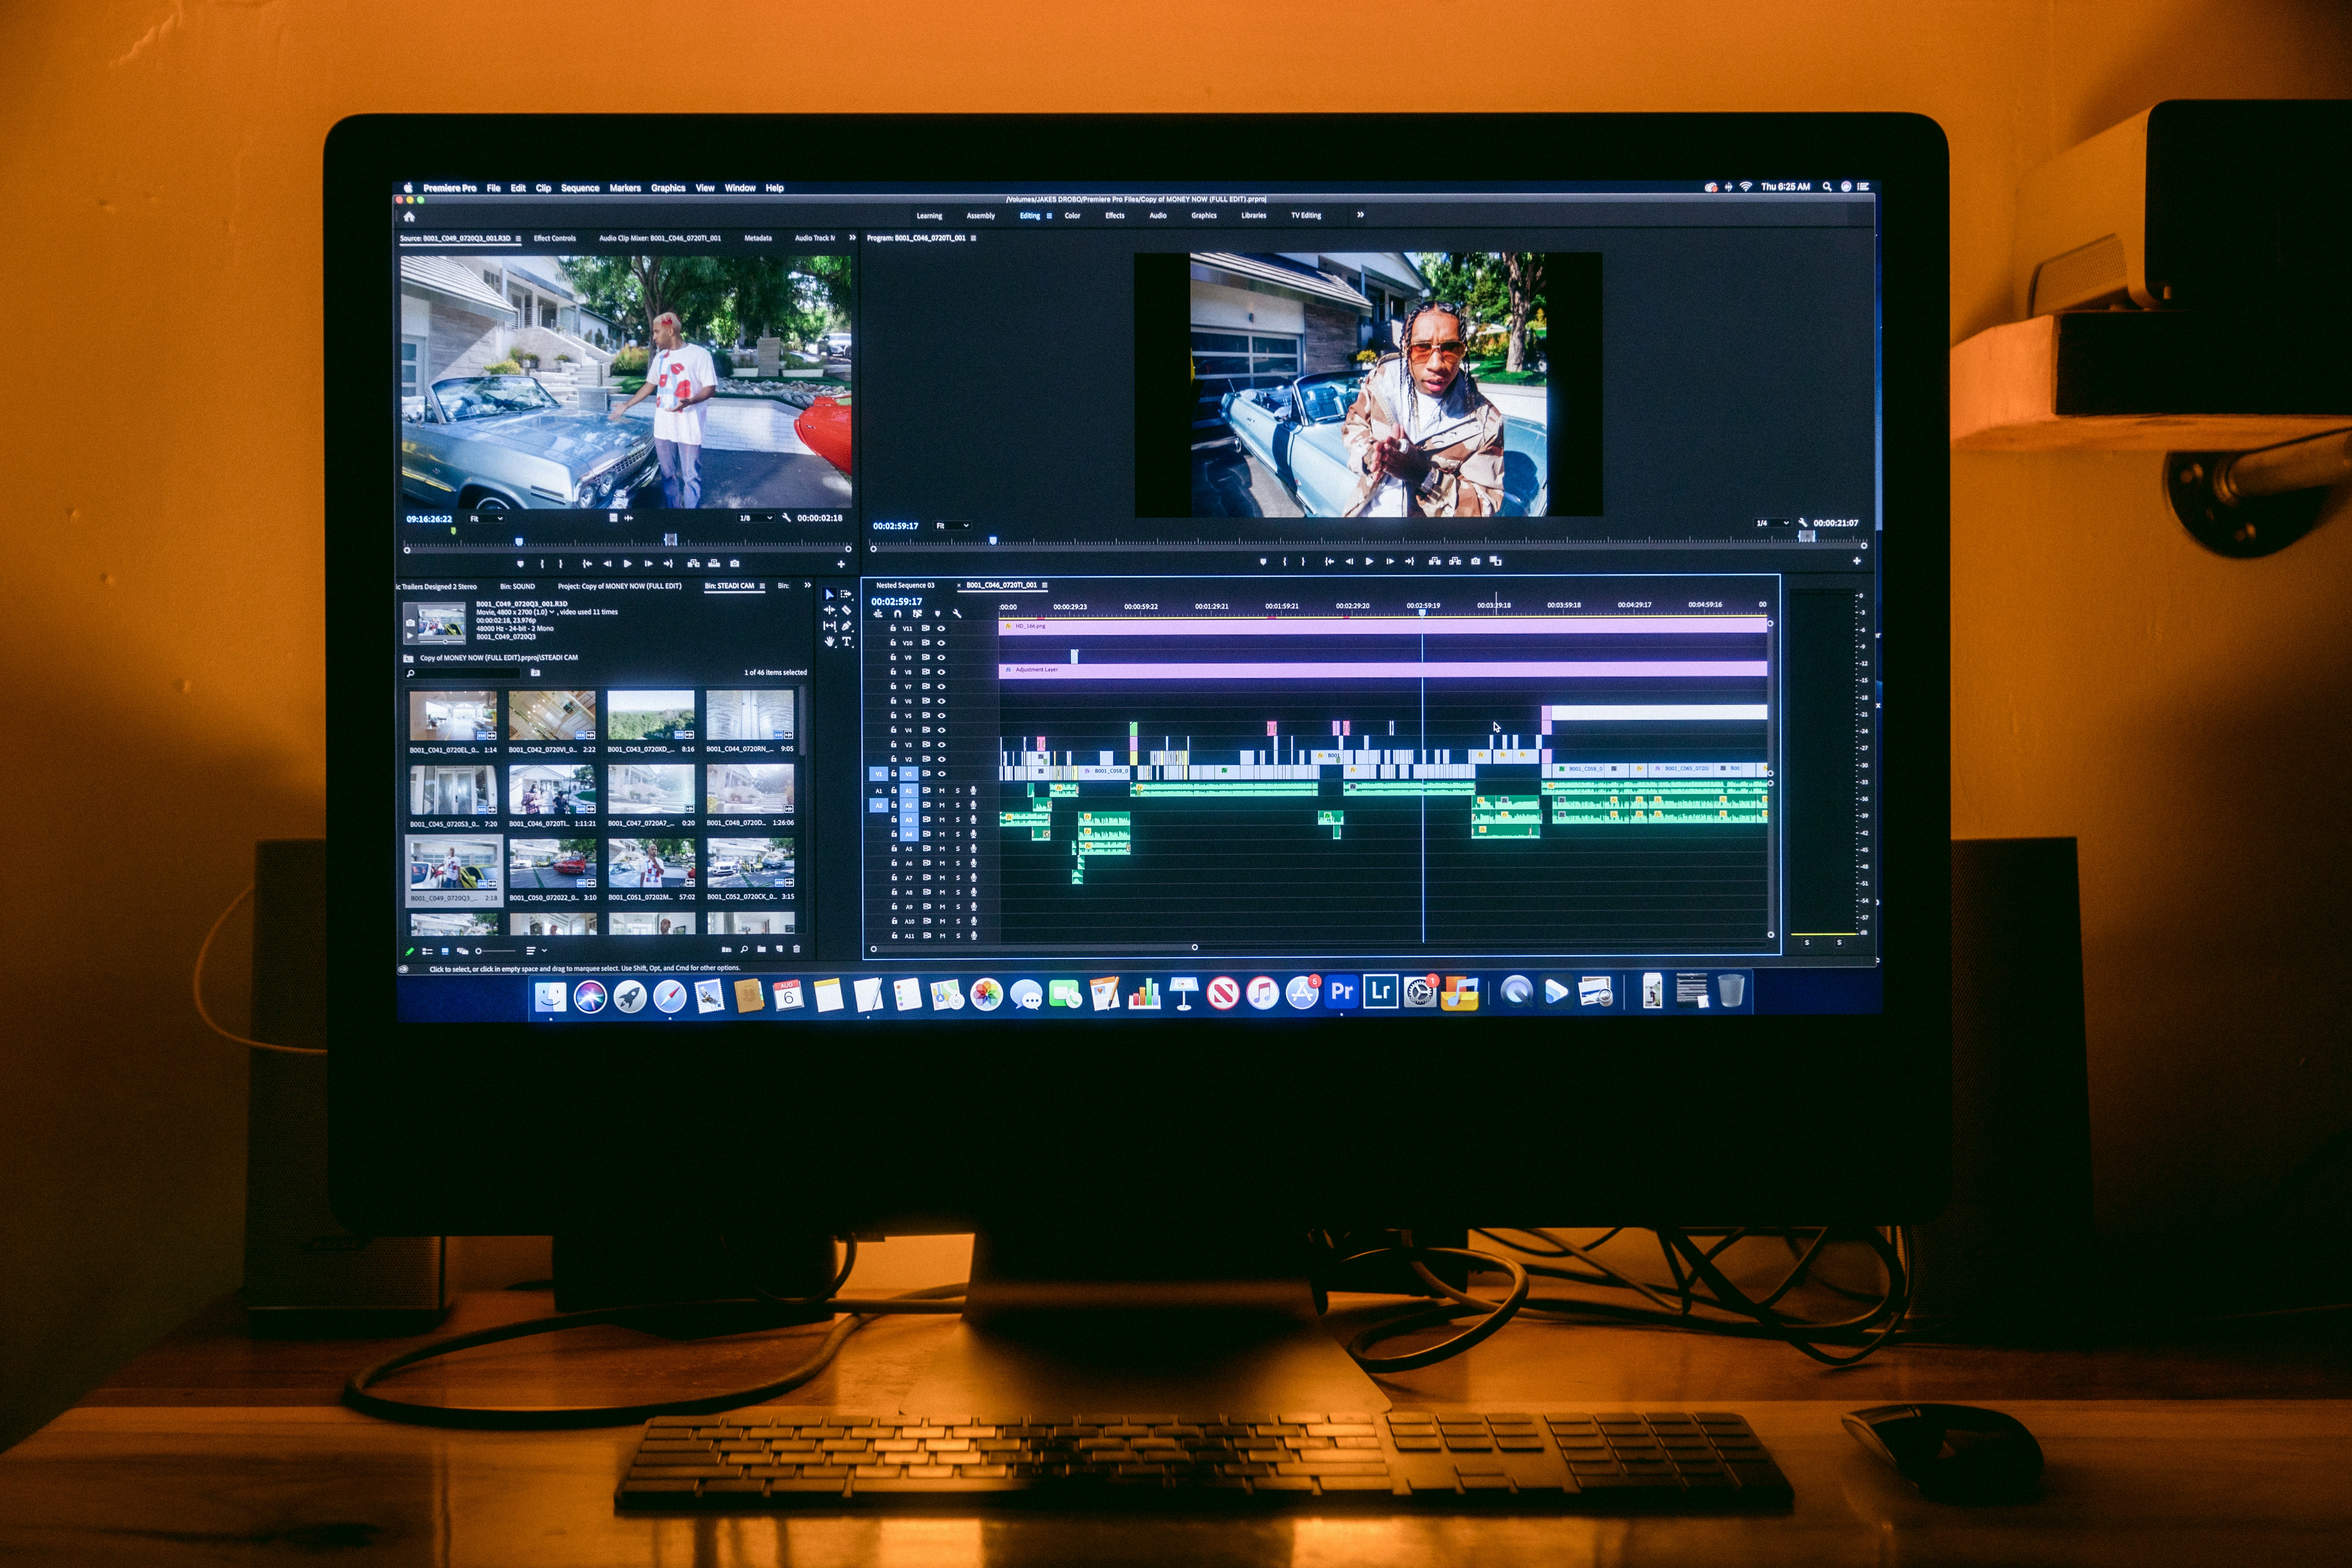
How to Record Product Demos With Smart Zoom
You know the feeling. You've just recorded a five-minute walkthrough of the feature your team spent two months building, you play it back, and it looks like a security camera pointed at a spreadsheet. The cursor darts around. The text is too small to read on a phone. Nothing on screen tells the viewer where to look.
The product is fine. The recording is the problem.
Most people try to fix this with editing, adding zoom keyframes afterward, one at a time, in a timeline. It works, technically. It also turns a five-minute recording into a ninety-minute editing session, which is why most teams stop making demo videos after the third one.
Smart zoom solves it at the recording stage instead. This guide covers what it actually does, how to plan a demo around it, and the specific decisions that separate a screen recording from something that looks like it came out of a marketing department.
What smart zoom actually does
Smart zoom is a feature in modern product demo video software that watches where activity is happening on screen and moves the frame there automatically. Click a button in the top-right corner, and the view eases toward it. Start typing in a form field, and it settles on the form.
Two things matter about how this works.
It's automatic, so you don't touch a keyframe. And it's eased, meaning the camera accelerates and decelerates like a real camera operator rather than snapping between positions. That second part is what your brain registers as "professional" even if you can't name why.
The related feature you want alongside it is cursor smoothing. Human mouse movement is jittery: small corrections, overshoots, little circles while you think. Smoothing interpolates that into a clean weighted path. Combined with screen recording with automatic zoom, the effect is that your demo looks storyboarded when it was actually just you clicking around.
A quick honesty note. Smart zoom is not magic. It follows attention, and if your demo has no clear focus, it'll wander. Which brings us to the part nobody wants to do.
Plan the demo before you hit record
I'll be blunt. This is the step that determines whether your video is good, and it's the step everyone skips.
You don't need a script. You need a list. Open a notes file and write down the three to five things a viewer should be able to do after watching. Not features. Actions. "Import a CSV," not "flexible data ingestion."
Then order them the way a real user would hit them. Most demos are organized around how the product was built: settings, then configuration, then finally the thing people care about. Users don't experience software in that order. They experience it in the order of their problem.
Once you have the list, do a dry run without recording. You'll discover:
- The feature you wanted to show needs three clicks of setup you forgot about
- Your test account is full of data named `asdf` and `test test test`
- One of the transitions takes eight seconds to load
All three are fixable in two minutes before recording and unfixable in editing.
Clean the room
Your screen is a set. Treat it like one.
Set your display resolution to something modest, like 1440x900 or 1920x1080. This is counterintuitive, but recording a 5K display and scaling down makes your UI text tiny on a phone screen, and a large share of demo video views happen on mobile. Lower resolution means bigger relative text and a better result even at 4K export.
Then: close every other tab. Hide bookmarks. Turn on Do Not Disturb, because a Slack notification sliding in during a demo is the single most common reason to re-record. Empty your desktop if it'll be visible. Use a clean browser profile if you have one.
Rename your test data to something plausible. "Acme Corp, Q3 Invoice" reads as a real workflow. "test123" reads as a prototype.
Recording the demo
Here's the actual sequence.
1. Start recording before you start talking. Give yourself three seconds of dead air at the top. You'll trim it, and it saves you from clipping your first word every single time.
2. Move deliberately, not slowly. There's a difference. Slow movement is boring. Deliberate movement means you finish one action completely before starting the next. Click, let the result render, pause half a beat, then move on. That half-beat is where smart zoom settles the frame. Rush it and the camera is still moving when you've already clicked something else.
3. Let the zoom do its job. If you're used to manually zooming while recording, unlearn it. Don't fight the automatic framing by scrolling to reposition things. Just use the app the way a user would.
4. Narrate what you're doing, not what you're clicking. "Now I'll pull last quarter's numbers in" beats "now I'll click the Import button in the top right." The viewer can see the button. What they can't see is why.
5. Don't restart over small mistakes. Say a wrong word, pause for two seconds, and say it again correctly. You'll cut the bad take in ten seconds during editing. Restarting from the top costs you the whole run and, more importantly, your energy. Take seven always sounds worse than take two.
6. Record audio separately if you can. Not required, but if your demo is going on a landing page, a separate voiceover pass over silent screen capture gives you far more control. You can rewrite a sentence without re-recording the screen.
Where zoom should and shouldn't happen
Even with automatic zoom, you can influence the result by how you move. A few rules of thumb worth internalizing.
Zoom in for detail, out for context. The moment a viewer needs to read something, whether it's a value, a label, or an error message, the frame should be tight. The moment they need to understand where they are in the app, it should be wide.
Return to wide after each section. If you stay zoomed in for ninety seconds, viewers lose the map. A brief pull-back between steps re-orients them without you having to explain anything.
Don't zoom during navigation. Menu opens, page transitions, sidebar clicks: those want a stable wide shot. Zooming during movement is how you make people motion-sick.
One idea per zoom. If you find yourself zoomed in and explaining three separate things, that's three shots, not one.
The editing pass
With auto zoom screen recorder software the editing pass is short, which is the whole point. Twenty minutes, not two hours.
Trim the top and tail first. Then scrub through and cut dead air: loading spinners longer than about a second, the gap where you were reading your notes, the "umm" before a sentence. Nothing kills watch time like waiting for a page to load in someone else's video.
Speed ramps are underused. Any stretch where you're doing necessary-but-boring setup, like filling a form or waiting for a sync, can run at 1.5x or 2x without the viewer noticing anything except that the video moves. Keep full speed for the moments that matter.
Add subtitles. This is not optional in 2026. A large share of your viewers watch with sound off, on a train, in an office, or in a meeting they're not paying attention to. Auto-generated AI subtitles get you 95% of the way there in seconds. Spend two minutes fixing the product names it mangled.
Annotations should be rare. A single arrow or text callout at the one genuinely confusing moment is effective. Six of them look like a PowerPoint from 2011.
Export at the highest quality your host supports, in 16:9 for web and 9:16 if you're cutting a version for social. Don't upload a 4K file to a landing page that'll compress it anyway. That's a slow page load for no visual gain.
How long should a product demo video be?
Depends entirely on where it lives, and treating all demos as one format is the most common mistake I see.
- Landing page hero demo: 60 to 90 seconds. One core value prop, no feature tour.
- Feature announcement: 2 to 3 minutes. Assumes the viewer already knows your product.
- Onboarding or tutorial: 3 to 6 minutes, chaptered, and it's fine to be thorough because the intent is high.
- Sales demo recording: 5 to 15 minutes, but only if the prospect asked for it.
- Social clip: under 30 seconds, vertical, subtitled, first two seconds carry everything.
Watch-time drops sharply after about the two-minute mark on cold traffic. If your demo has to be long, chapter it so people can skip.
Mistakes that quietly ruin demos
A short list, all of which we've done ourselves.
Explaining the UI instead of the outcome. Nobody wants a tour of your settings page. Show what the software makes possible.
Starting with an empty state. A blank dashboard is the least persuasive screen in your product. Seed it with realistic data first.
Talking over loading screens. If it takes four seconds to load, cut those four seconds. Don't fill them.
Ignoring the first five seconds. That's where most of your audience decides. Lead with the result, then show how, which is the reverse of how you'd naturally structure it.
Recording once and never revisiting. Your UI will change. A demo showing a two-versions-old interface actively damages trust. Re-record after any significant redesign.
Frequently asked questions
What is smart zoom in screen recording?
Smart zoom automatically moves and scales the recording frame toward wherever on-screen activity is happening, such as clicks, typing, or scrolling, using eased camera motion. It produces the effect of manually added zoom keyframes without any manual editing.
How do I zoom in while screen recording?
You can add zoom keyframes manually in a video editor after recording, or use a screen recorder with automatic zoom that applies the effect live as you record. The second approach is faster and generally produces smoother motion, since the easing is calculated rather than hand-drawn.
Do I need editing skills to make a software demo video?
No. With automatic zoom, cursor smoothing, and AI subtitles handled at capture time, the remaining work is trimming and exporting, both of which take a few minutes and no prior experience.
What's the best screen recorder for product demos?
Look for four things: automatic zoom, cursor smoothing, built-in subtitle generation, and export without a watermark. Anything missing one of those will cost you time in post-production or credibility on the finished video.
Why do my screen recordings look unprofessional?
Usually three causes together: static framing that never guides the eye, jittery cursor movement, and dead air that wasn't trimmed. Fixing the framing alone gets you most of the way.
Start recording
The gap between an amateur demo and a good one isn't talent or budget. It's a short planning list, a clean screen, and framing that moves with the action instead of sitting still.
Smart zoom handles the last of those for you, which means the other two are the only things standing between you and a demo you'd actually put on your homepage.
Try ScreenRecord.software free with smart zoom, cursor smoothing, and AI subtitles on macOS, Windows, and Linux. No watermark on paid plans, and the Lifetime license is a single payment.